> For the complete documentation index, see [llms.txt](https://docs.allout.game/llms.txt). Markdown versions of documentation pages are available by appending `.md` to page URLs; this page is available as [Markdown](https://docs.allout.game/getting-started/project-layout.md).
# Creating Your First Project
Creation starts on the All Out website in the Creator portal, then you'll download the All Out editor to make your game world!
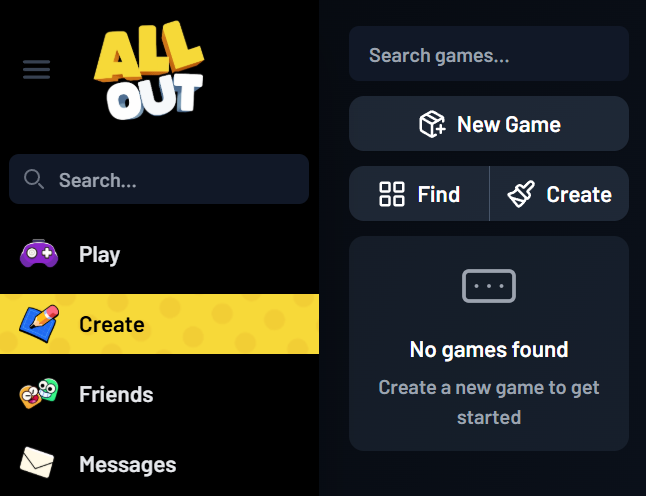
Once you have access to the creator tools, the Create tab on the All Out website will have an option to create a "New Game".
You'll be asked to pick a game name (you can always change it later!) and then you'll be taken to the management page for your game!
Choosing build locally will prompt you to install the Windows editor and is great for professional users. Cloud Agent is a good way to get started. See Introduction to Cloud Build for more information.
After you've created your game, you'll be taken to the "Manage" section which will allow you to fill in extra information and change game settings. You can come back to this page at any time.
Next, you'll [**download and launch the editor**](/getting-started/first-game.md)!
## Local project files
A new local project starts with this structure:
```
your-game/
├── ao.project
├── scripts/
│ └── main.csl
├── scene/
├── res/
└── .gitignore
```
`ao.project` identifies the project. Put CSL source files in `scripts`, scene data in `scene`, and imported textures, audio, and other assets in `res`. Keep all of these files in version control except paths already excluded by the generated `.gitignore`.